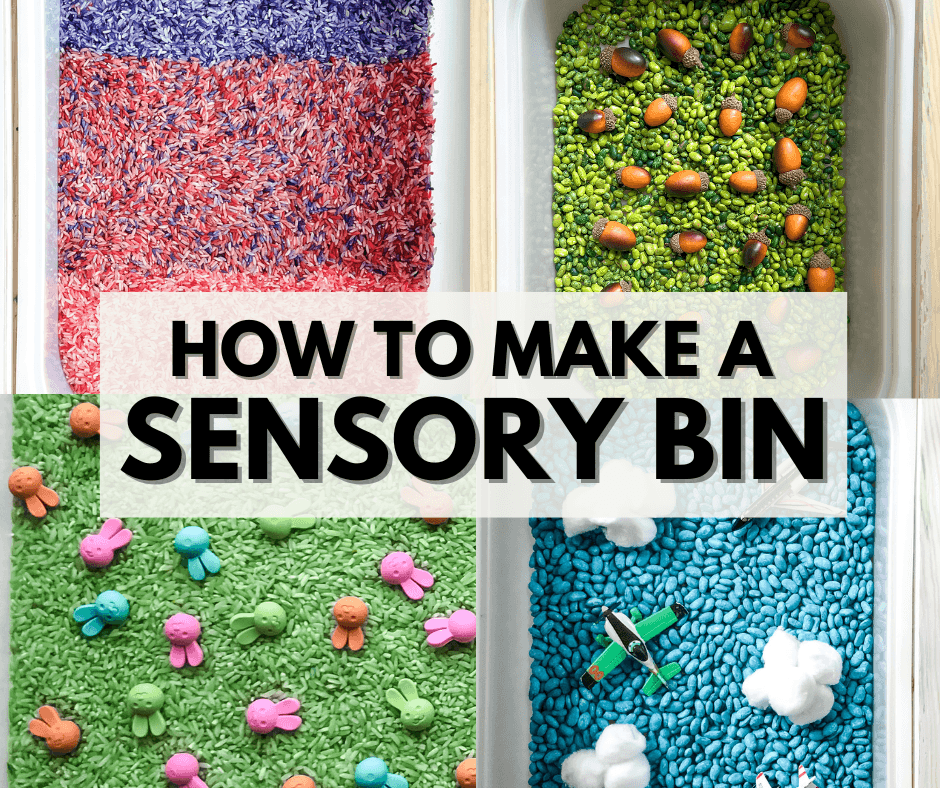
Are you wondering how to make a sensory table and where to get started?! This is for you! We’ll cover why sensory play is important for play based learning, the benefits of sensory play for toddler and preschool learning, and cover exactly how to make a sensory table!
Shop our favorite sensory supplies here! As an Amazon affiliate, I earn a small commission from qualifying purchases at no cost to you.
Why is Sensory Play Important?
Sensory play is blowing up everywhere, and I couldn’t be more delighted about it, because there are so many benefits for kids and families! If sensory play is unfamiliar for you, you might still be wondering, “why are your children playing with beans?” FAIR! I get it! Sensory bins may seem very strange if the idea is new!!
Calming sensory play was recommended to me by a pediatric occupational therapist several years ago as I worked to support one of my kiddos with their sensory needs. And we have never looked back!! I think back on kids I worked with as an elementary teacher and principal, and I wish our school had offered more sensory play opportunities for them!
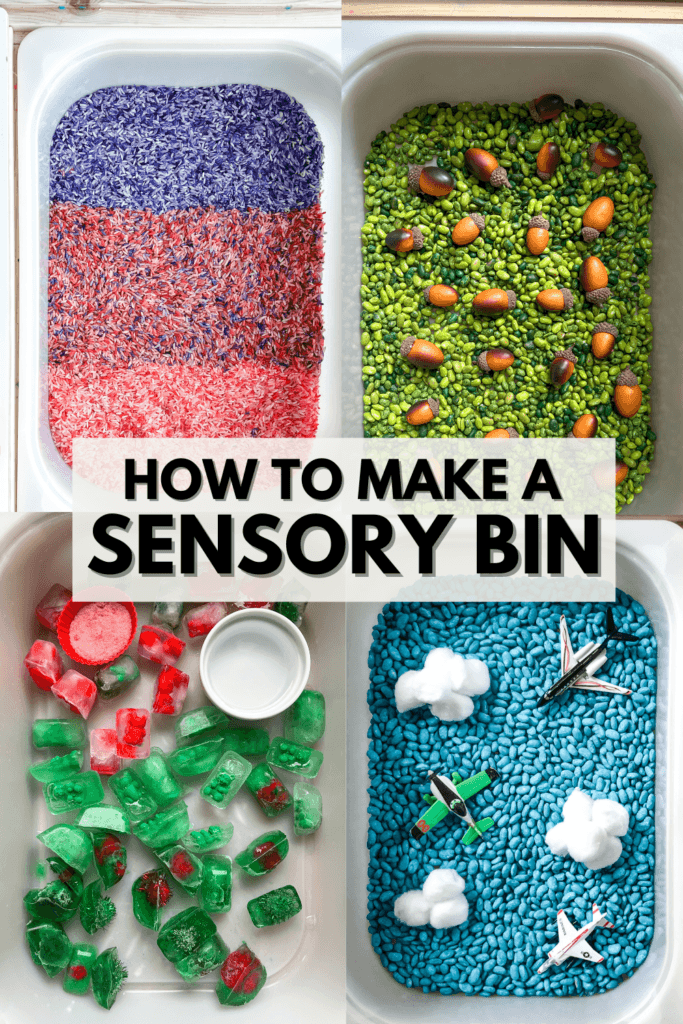
Benefits of Sensory Tables
- Here’s why it’s great! Sensory play provides:
- calming sensory input
- fine motor development
- opportunities for self directed and STEM exploration
- independent play and learning
- plus many other cognitive benefits!!
So I get that it may seem strange, AND I also encourage you to give it a try!

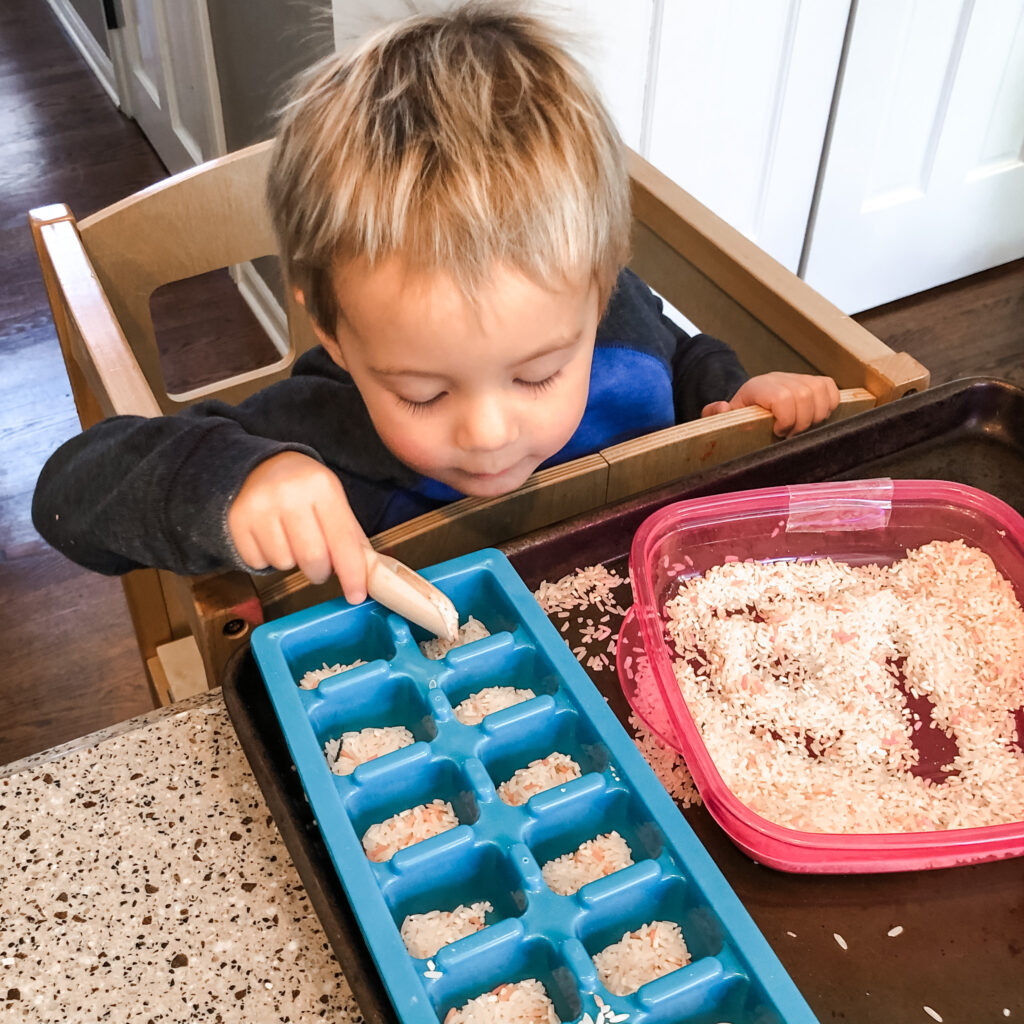
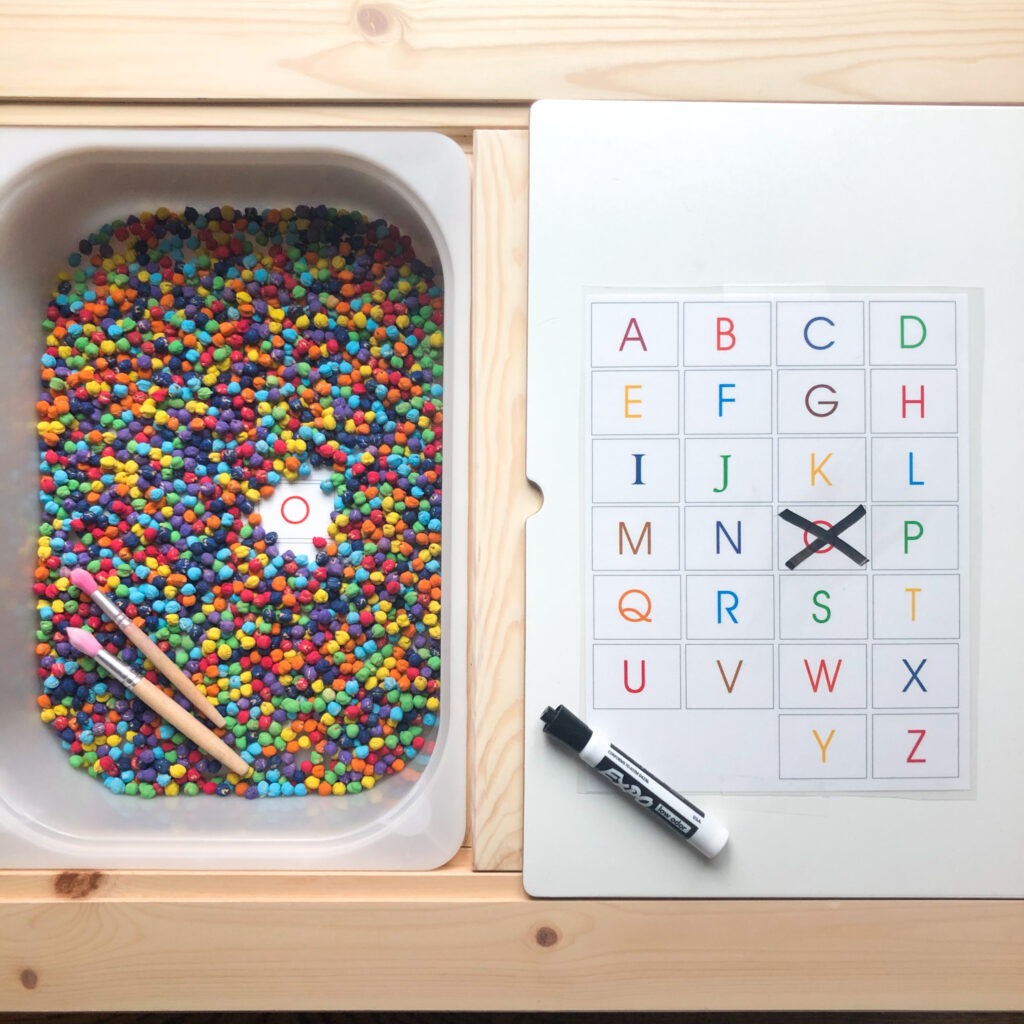
That’s the why – let’s get to the what and HOW!
How to Make a Sensory Table
What table or bin can I use for sensory play?
- STEP ONE: pick a bin – anything goes.
- Trays, cookie sheets, Tupperware containers, TROFAST bins from IKEA (pictured above), muffin tins, and any other large container with an edge does the trick. (Full post with muffin tin ideas here.)
- No table? No problem! I only just got a sensory table about a year ago – before that I used tupperware bins and trays. You don’t have to have a special table to set up sensory play!!
- People do ask often about my table – it’s the IKEA FLISAT table with TROFAST bins placed in the table. You can do two large TROFAST bins, or the smaller TROFAST bins fit 2 per side (4 total) – pictures below of how you can configure the bins for different set ups.
- The IKEA FLISAT table can be hard to find and are often out of stock. I’ve heard good things about these tables too!

Melt and thaw ice table
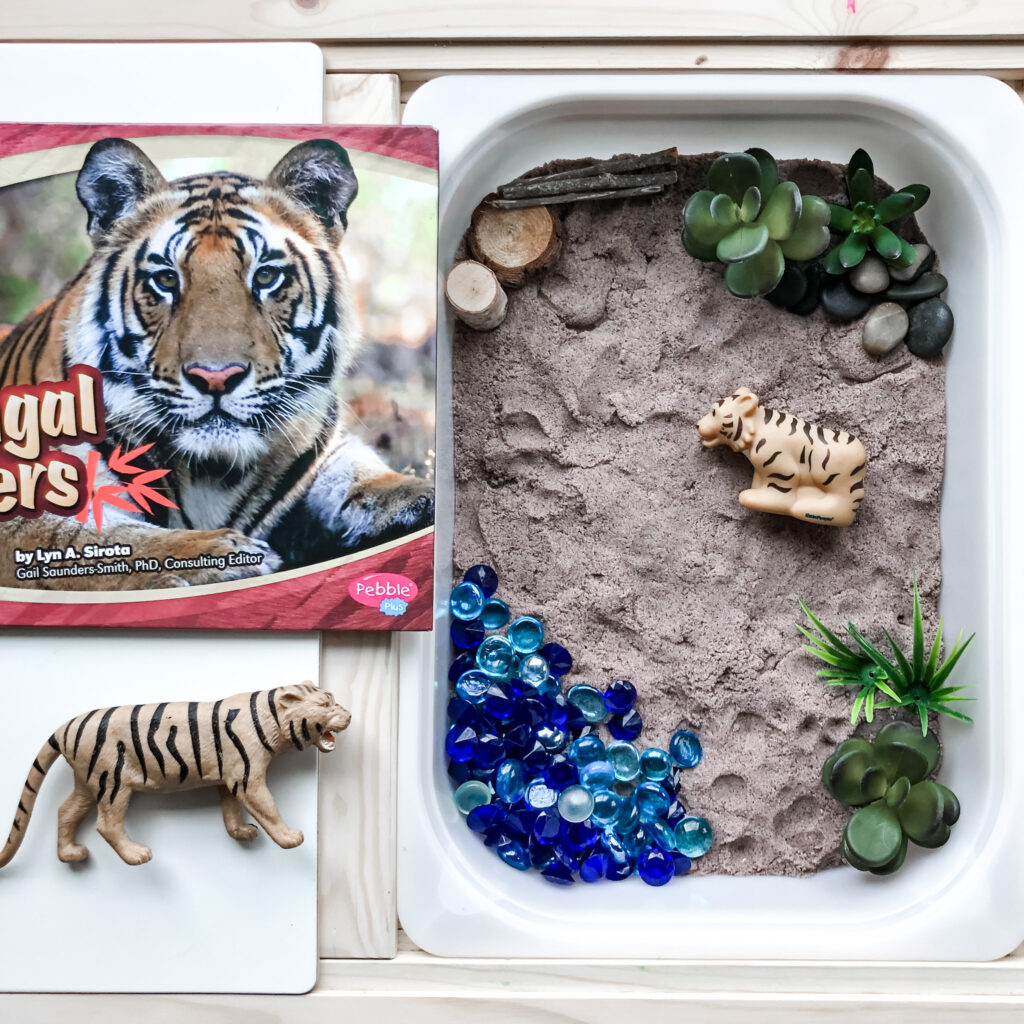
Kinetic sand tiger table
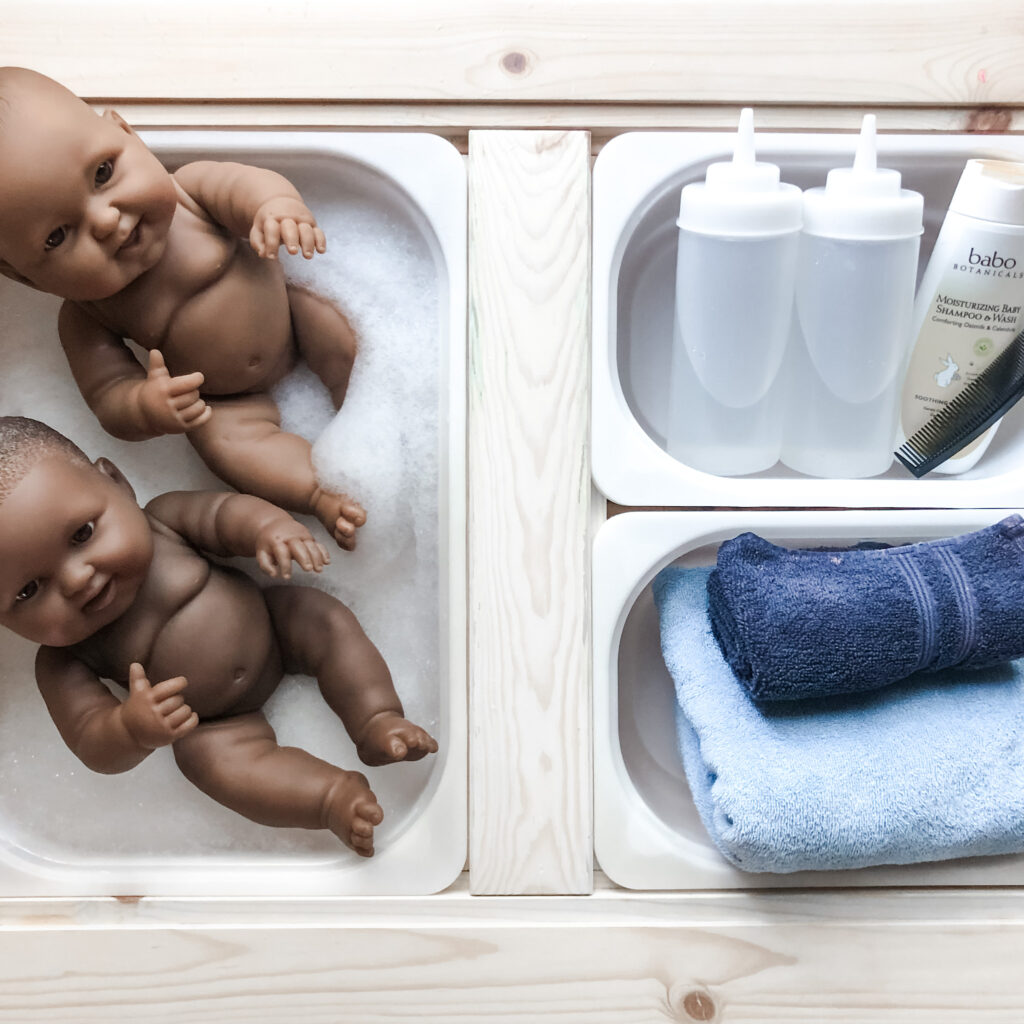
Baby care bath station
What should I put in a sensory table?
- STEP TWO: pick a filler.
- Favorites: dry beans, lentils, rice, chickpeas, pasta (cooked or dry), water beads, ice, water, kinetic sand, bubble foam (water and baby soap blended together), cotton balls, stale cereal, popcorn kernels, play dough, crinkly paper, natural materials (grass, sticks, snow, leaves), pompoms.
- STEP THREE: add any tools.
- Favorites: these is my all time favorite MVP kit of sensory tools – great starter kit!!
- Other tools we love: tongs, spoons, kids’ tweezers, squirt bottles (postpartum peri bottles are great too), droppers (baby medicine dispensers work too!), magnetic wands. Shop all of our favorite tools – click here.
- STEP FOUR: add any extra toys, characters, or books for a theme.
- Favorite toys to include in sensory play: construction trucks, water safe dolls, characters (Daniel Tiger, Paw Patrol, anything!), Safari Ltd. animals are amazing.
- Adding books: read the book aloud while your child plays (they’re listening, learning, and making connections as they play and listen – really!), if it’s a fiction text you can model and play along showing how to act the plot of story (first ____, next they ____, and finally they _____.)
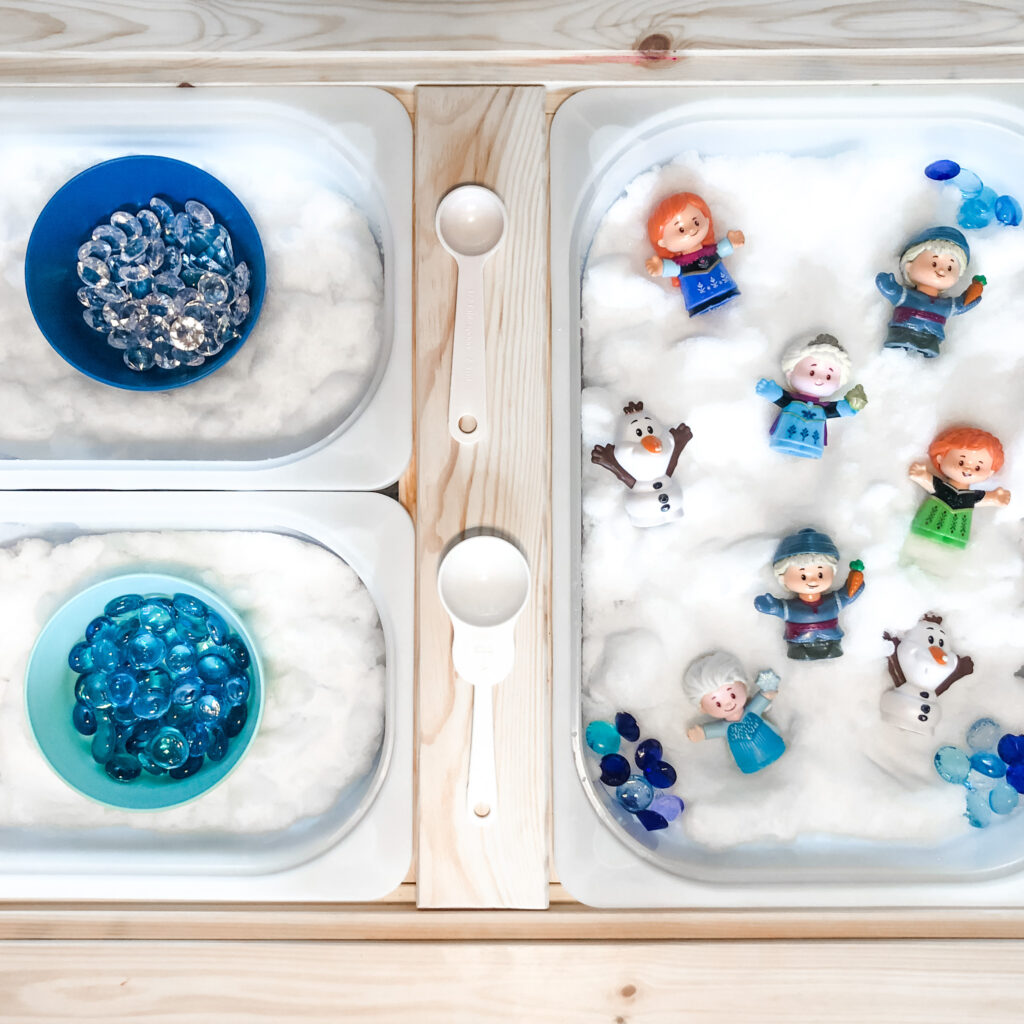
Use the characters you have to make sensory play more engaging!
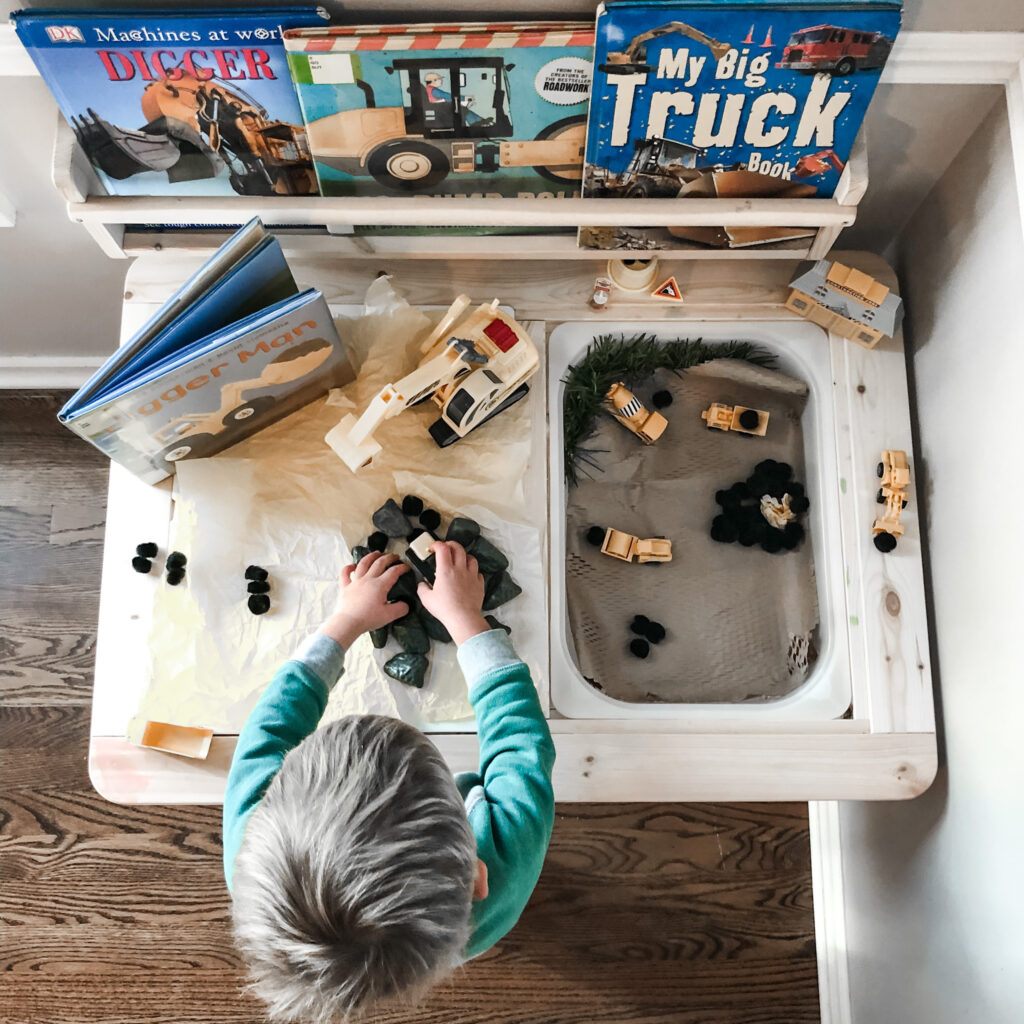
Plan set ups that feature your child’s passions and interests!

Animal play and books are great to bring in more nonfiction reading!
How to Make a Sensory Table!
So if you’re ever feeling overwhelmed by sensory play or are unsure where to start, remember these easy steps:
1. Pick a bin
2. Pick a filler
3. Add any tools
4. Add any extras (like toys or figures)
Sensory play doesn’t have to be hard or expensive. Remember to keep it low lift (EASY!) for you and keep hands-on learning fun for your kids!
Sign up for the Low Lift Fun email list to get play and parenting tips for real families delivered straight to your inbox.
