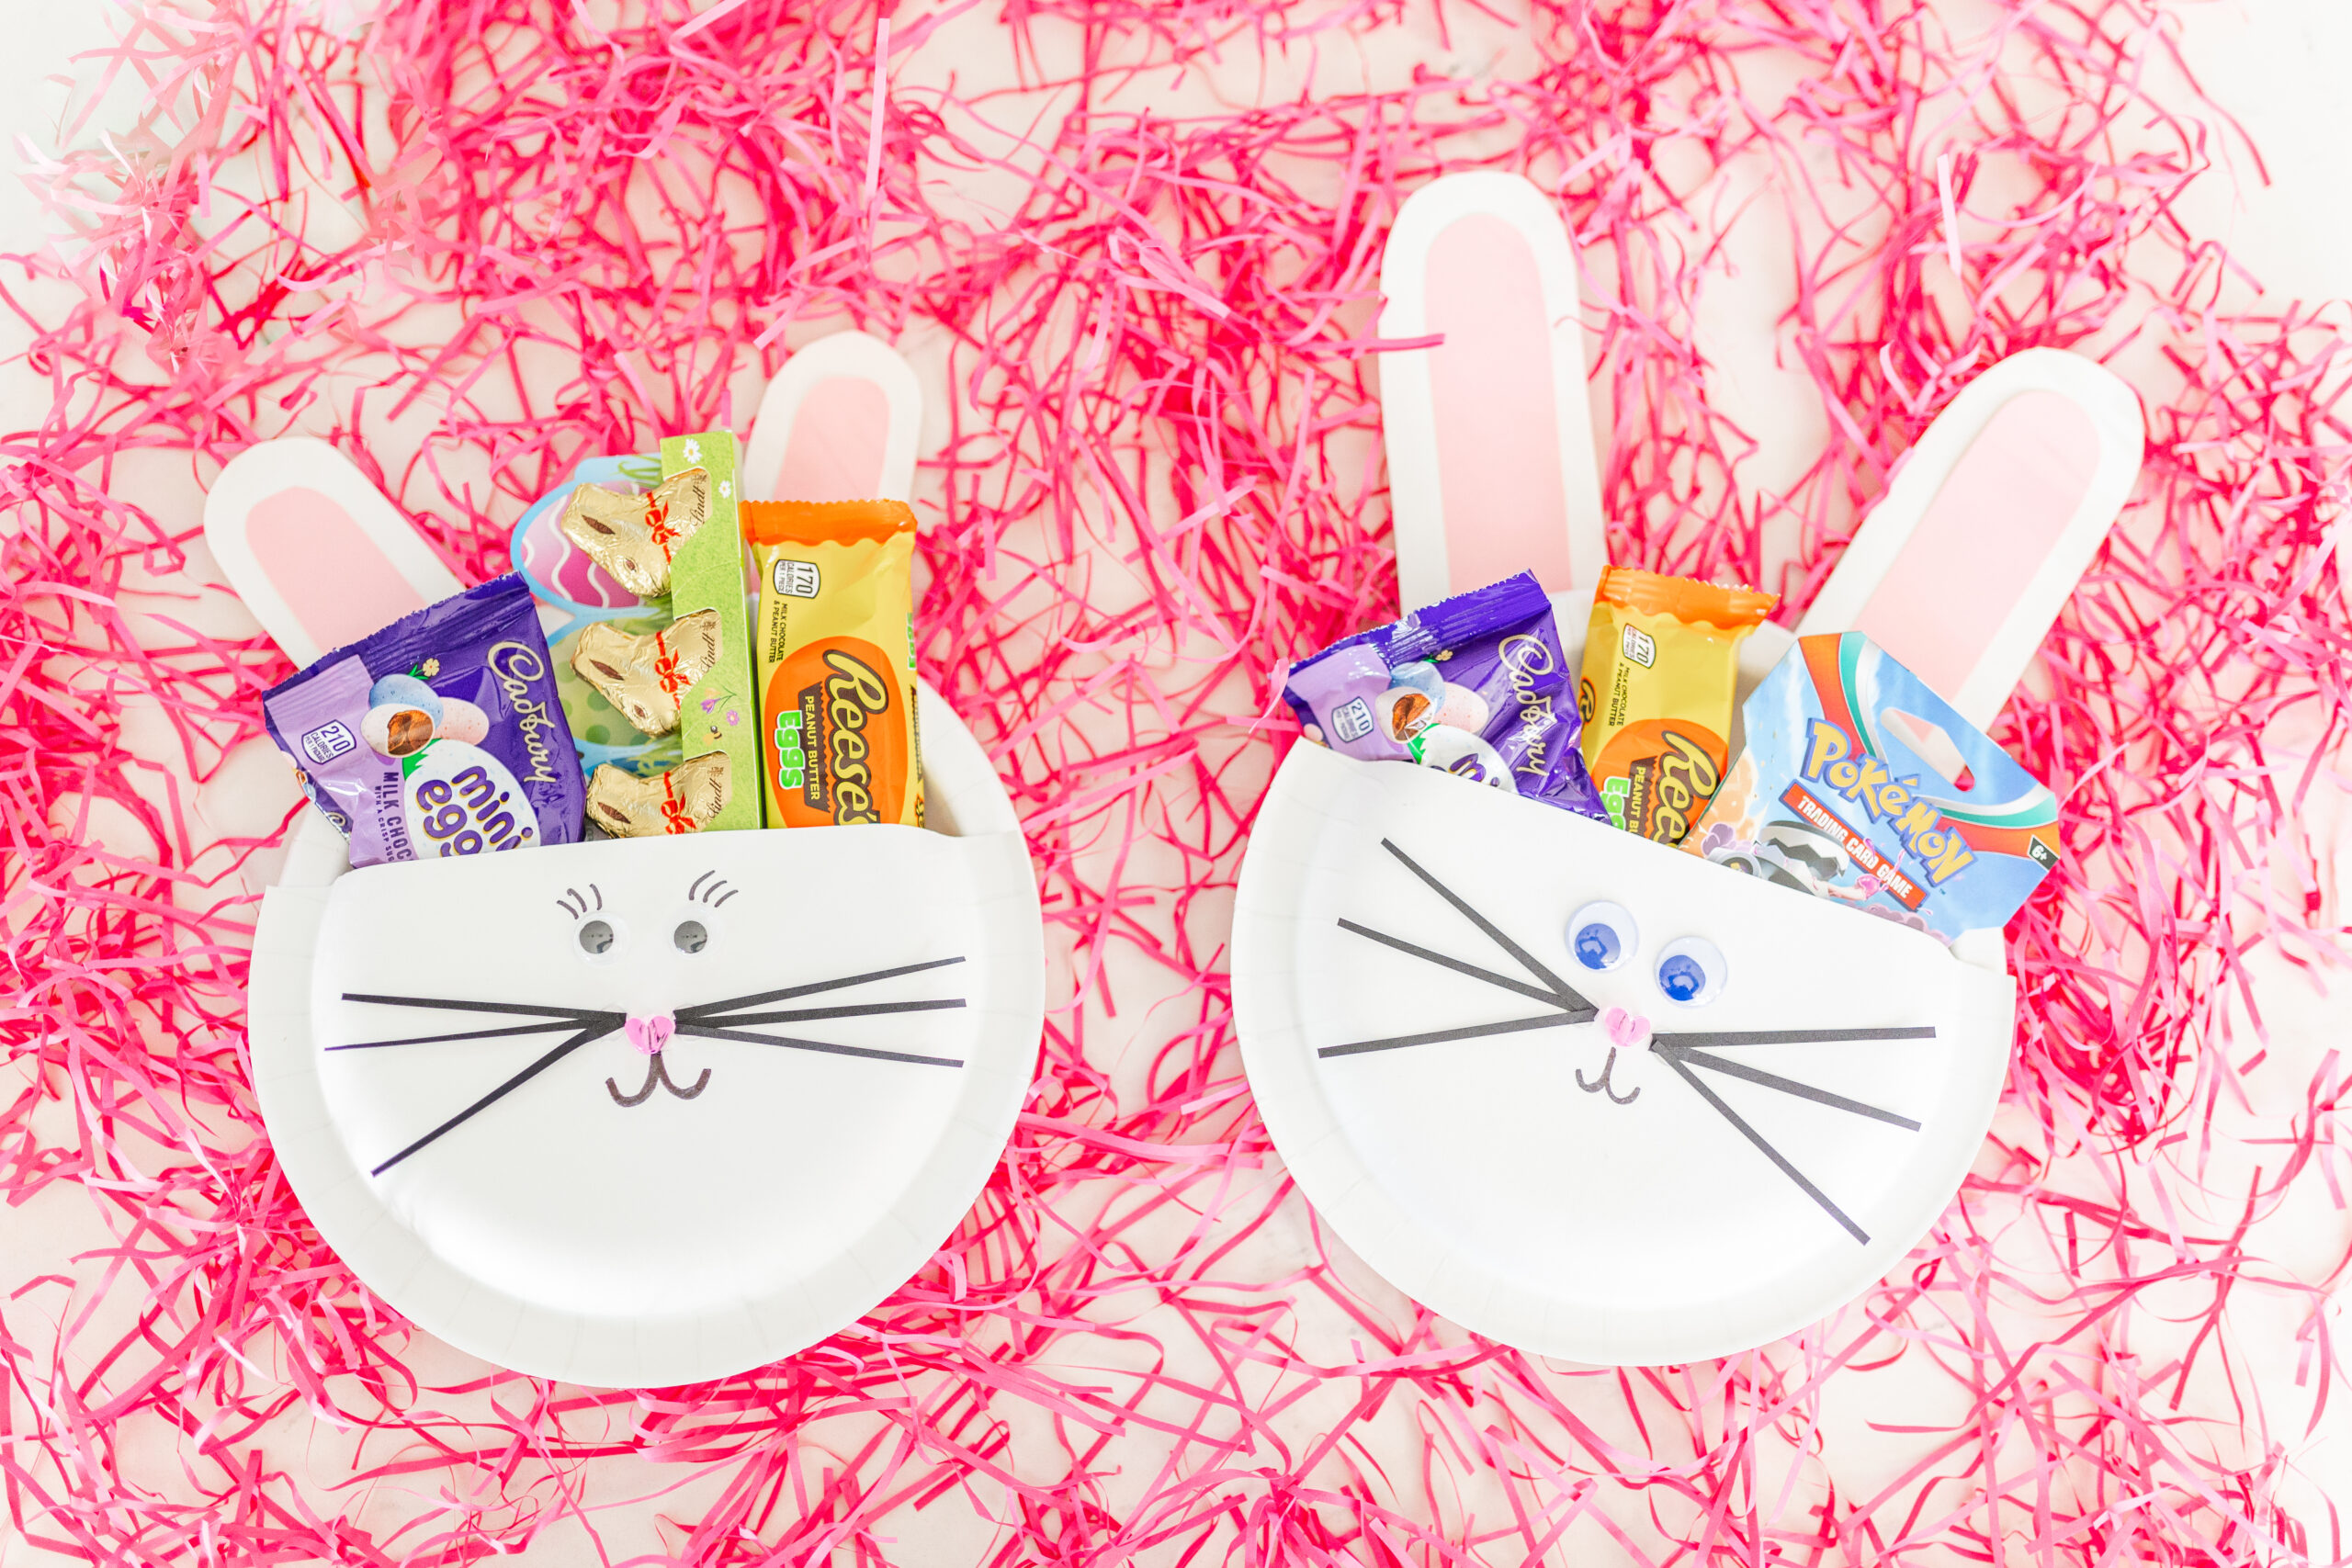
Ready to hop into some Easter fun? In this tutorial, we’re going to show you how to make an adorable Paper Plate Bunny Craft that’s perfect for storing sweet treats.
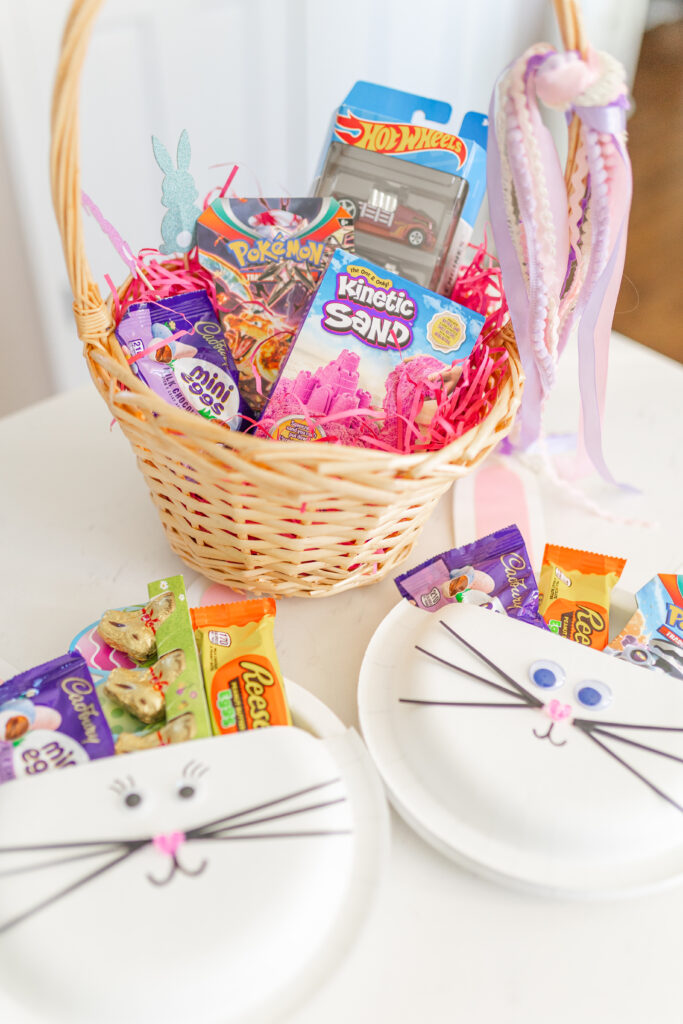
This paper plate bunny also makes an adorable place setting when hosting!
It’s easy-peasy and guaranteed to bring a whole lot of smiles!
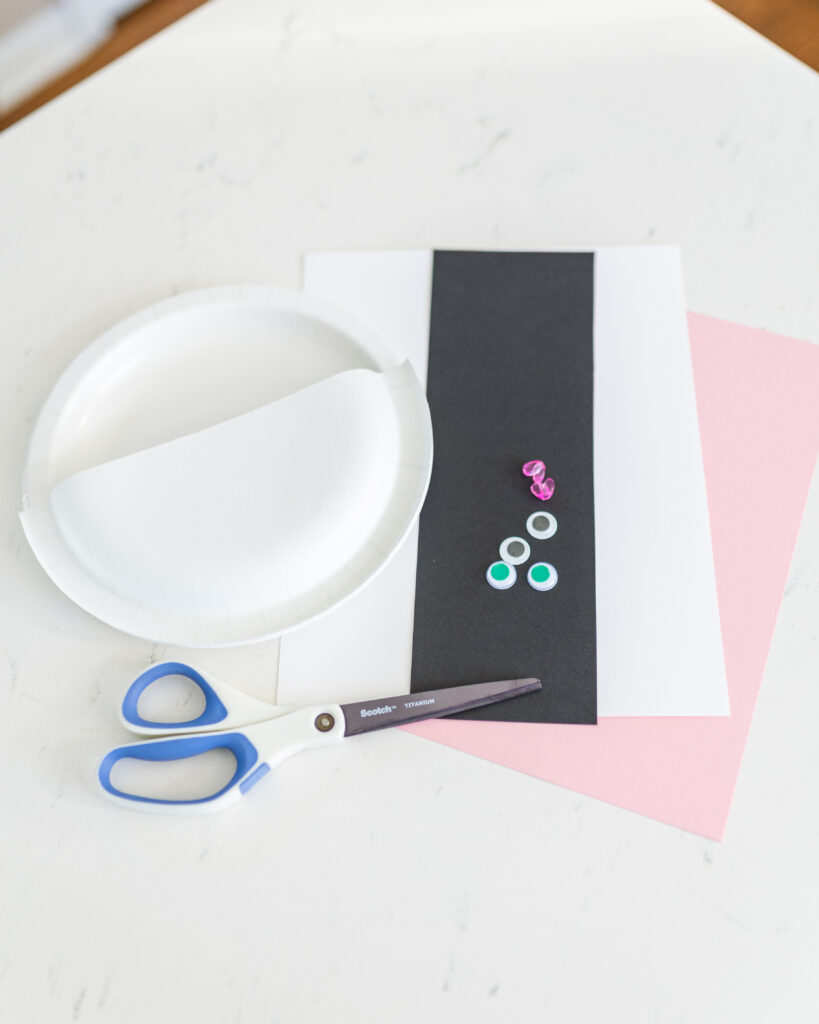
Materials for Paper Plate Bunny:
(This post contains affiliate links for your convenience. If you make a purchase using one of these links, I may earn a commission.)
- Two paper plates
- Cardstock paper (any colors you like)
- Googly eyes
- Scissors
- Glue
- Marker
- Bead or button
- white pompom (optional – for tail on the back)
- favorite candies or little toys (optional – for inside the bunny)
This is an awesome little craft set that includes a great variety of supplies for many many crafts!!
Shop all my favorite basic art supplies for kids’ crafts here!
Paper Plate Bunny Instructions
Step 1: Prep the plates!
The plates will make the face of your bunny for this craft.
Grab one of your paper plates and cut off the top third of the plate (doesn’t need to be exact!) – flip this cut plate over (so it’s face down).
Next, glue the two plates together. See photo for an example – you’ll glue the curved perimeter of the upside down cut plate onto the top of the whole plate! See photo above.
Step 2: Add the bunny face and ears!
This will be the canvas for our Paper Plate Bunny Craft masterpiece. Glue on the eyes. Now, let’s give our bunny a cute little nose! Take your bead or button and glue it onto the bunny’s face, right below the eyes. Press it down gently to make sure it sticks.
Add whiskers and a smile!
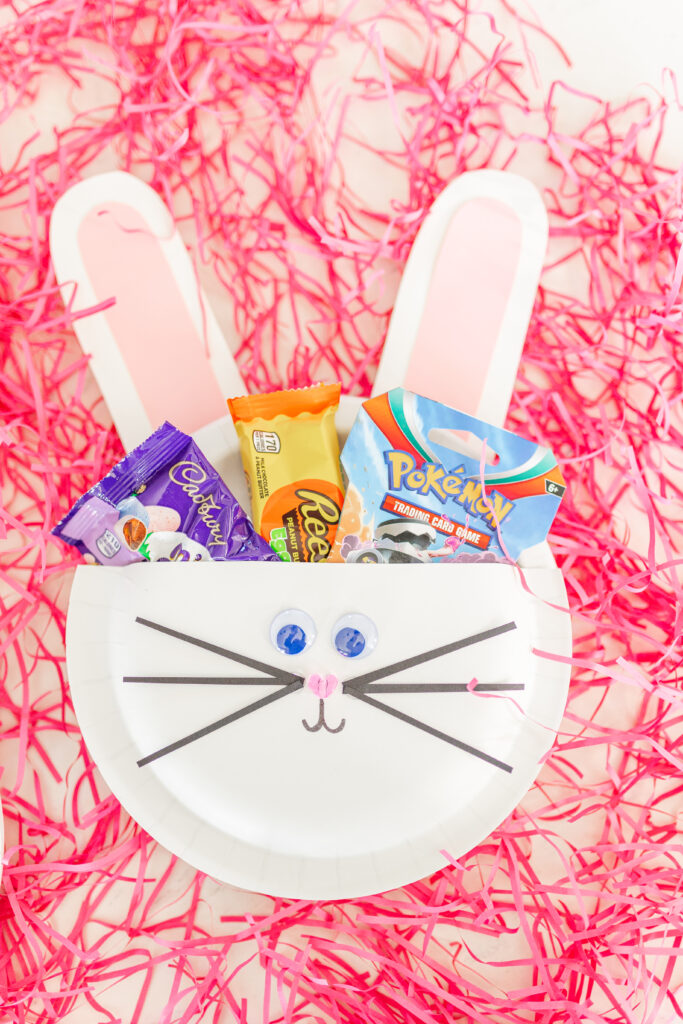
Now, onto the bunny ears! Take your cardstock paper and cut out two big bunny ear shapes in white – or go wild with the colors – the more vibrant, the better!
Once you’ve got your ears ready, it’s time to stick ’em on. Grab your trusty glue and attach those ears to the back of your Paper Plate Bunny Craft face. Make sure they’re nice and secure!
Step 3: Bunny Tail!
Use a pompom or cotton ball to make the bunny’s tail. This can be white or any color you like. Glue it onto the bottom center of the BACK of the plates to complete the adorable look.
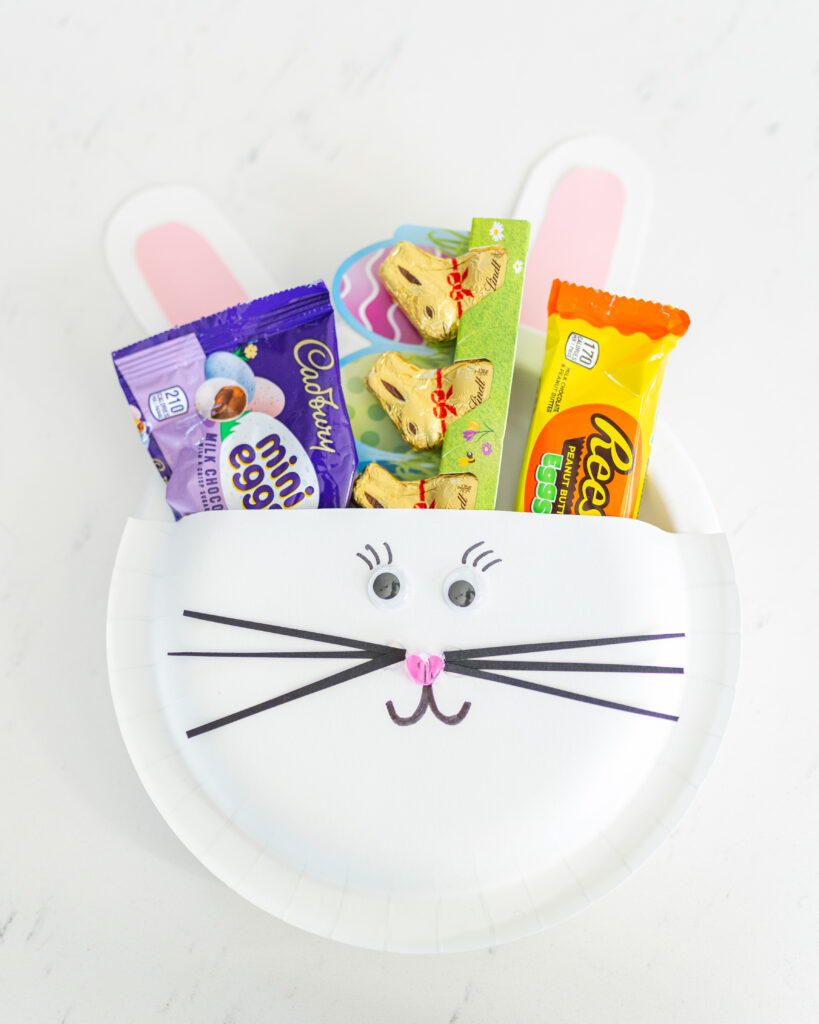
Step 4: Fill your paper plate bunny basket!
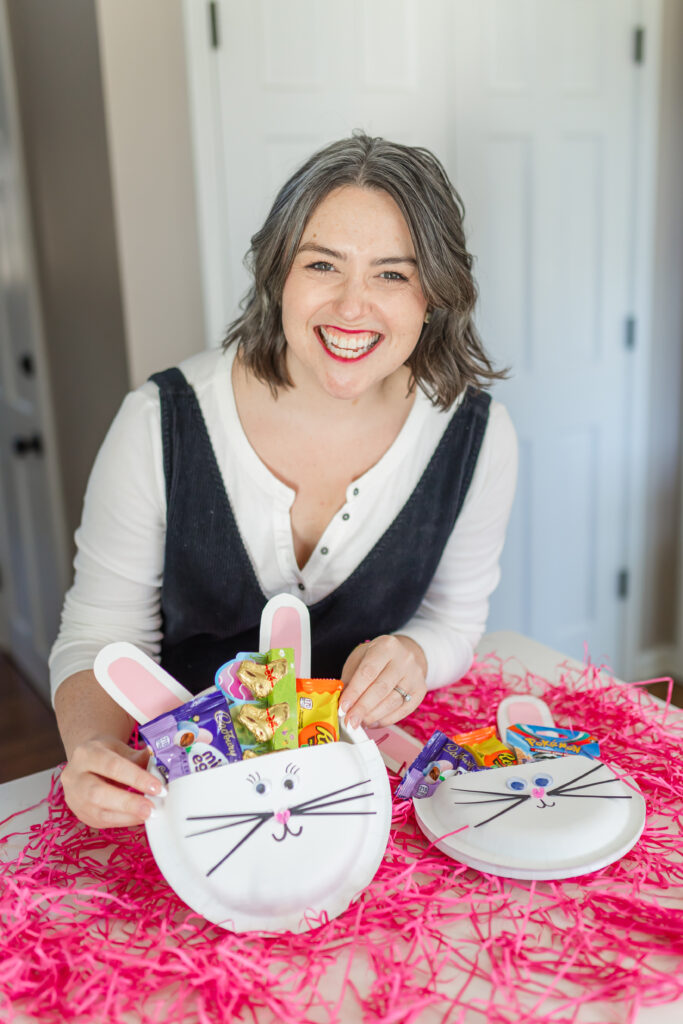
Time for the best part – filling your Paper Plate Bunny Craft with all the goodies! Whether it’s jellybeans, chocolate eggs, or your favorite little toys, pile them in and watch your bunny craft come to life.
Step 5: Add some flair and have fun!
Feeling fancy? Go ahead and add some extra decorations. Stick on some sparkly stickers or add a sprinkle of glitter – the sky’s the limit!
And there you have it – your very own EASY DIY Paper Plate Bunny Craft!
Now it’s time to share the Easter joy. Show off your crafty creation, share those yummy treats, and spread some smiles all around. Happy Easter, everyone!
Want more easy kids’ activities and spring crafts for preschoolers?! You will love:
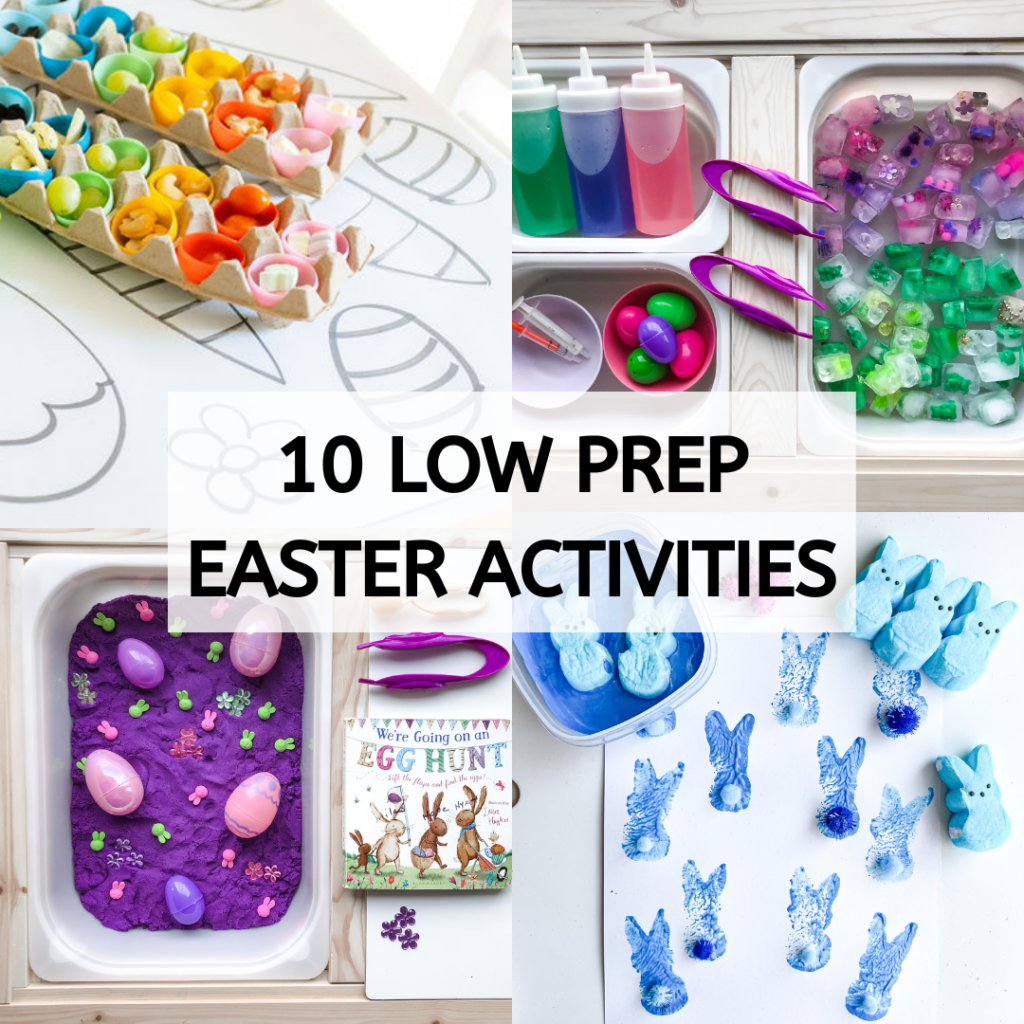
10 Low Prep Easter Activities for Kids!