
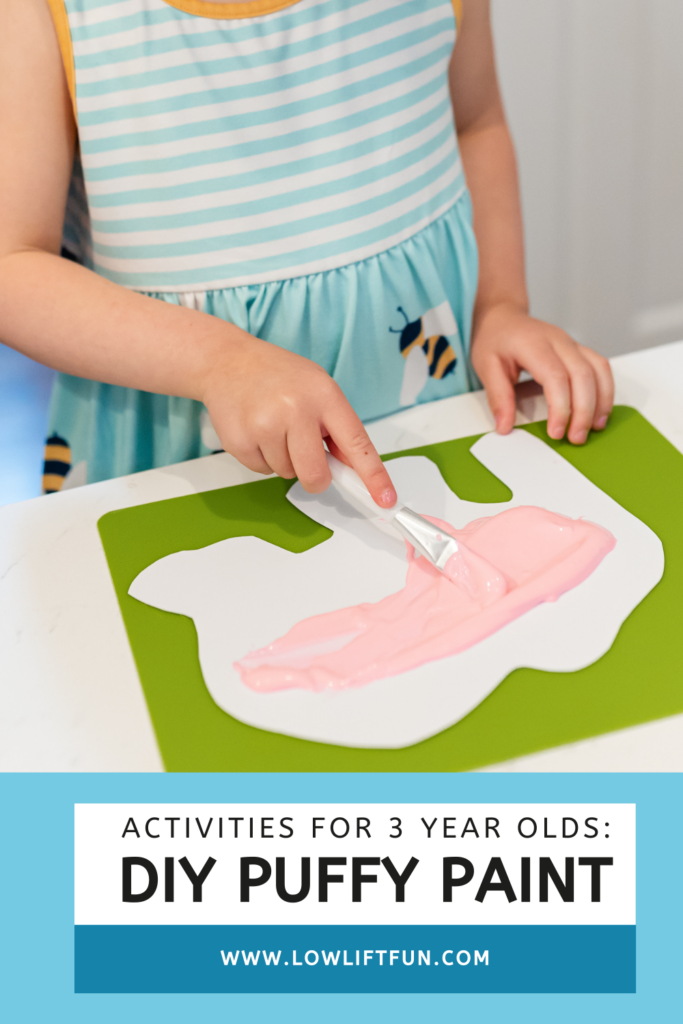
Looking for a fun craft?! You will love learning how to make puffy paint! This activity could not be easier, and it dries SOLID!
Yes, this amazingly easy puffy paint recipe dries totally solid!
Sign up for the Low Lift Fun email list to get easy kids’ activities and parenting tips delivered straight to your inbox!
Ready to embark on a colorful adventure that’s as fluffy as a cloud? Get set to dive into the whimsical world of homemade puffy paint! Whether you want a fun preschool craft in your classroom, or you need a quick indoor activity for kids at home, this is perfection!
Above all, I love this recipe because it’s SO EASY and uses simple ingredients you already have – glue, shaving cream, and food coloring.
Seriously, that’s it! Not only is this easy to set up, but the end result is fantastic!
So, buckle up and let’s sprinkle some magic into your kids’ day!
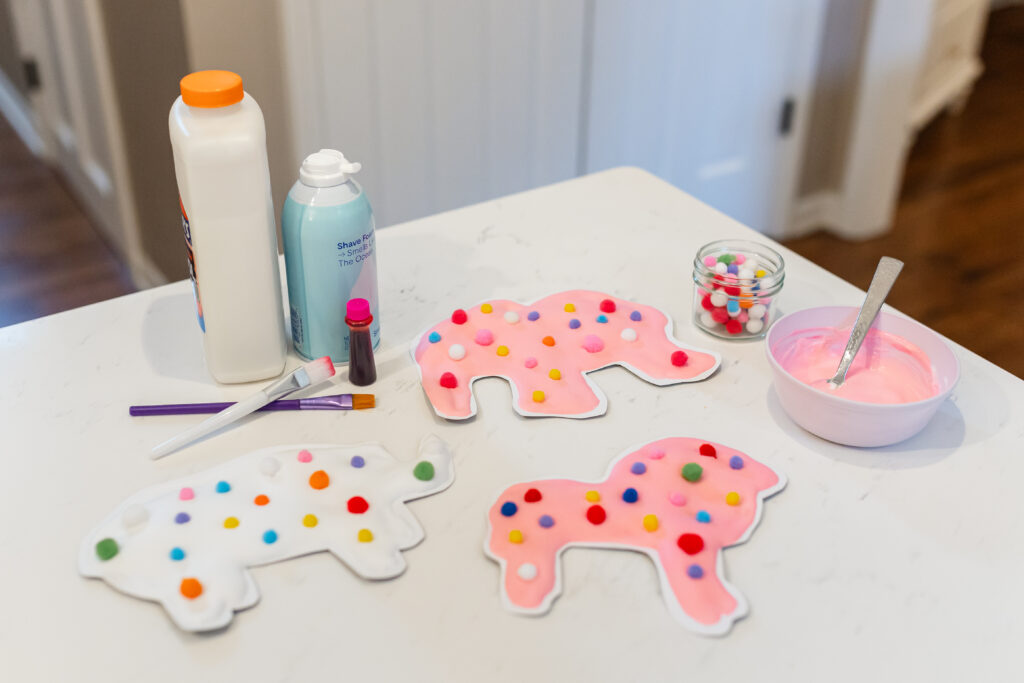
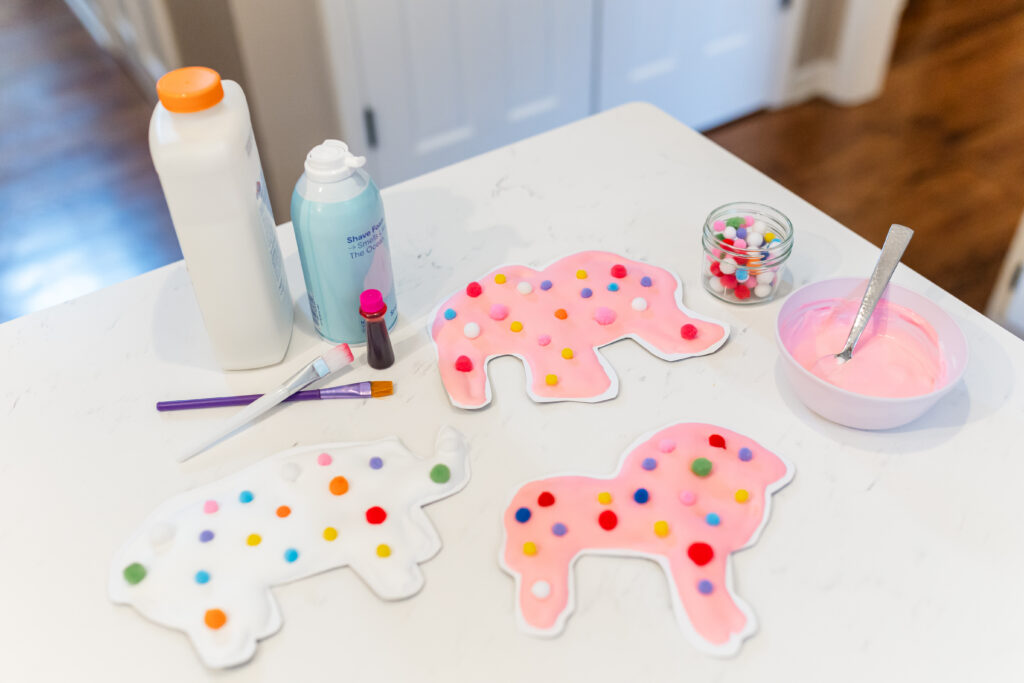
Ingredients You’ll Need:
- White glue (like Elmer’s glue)
- Shaving cream (the white foamy kind, not the gel!)
- Food coloring
- Mixing bowls
- Spoon or spatula for stirring
- Paintbrushes
- Paper (I prefer cardstock for this project, because it is more durable for holding the paint!)
Shop my favorite craft essentials here!
How to Make Puffy Paint, Step-by-Step Directions:
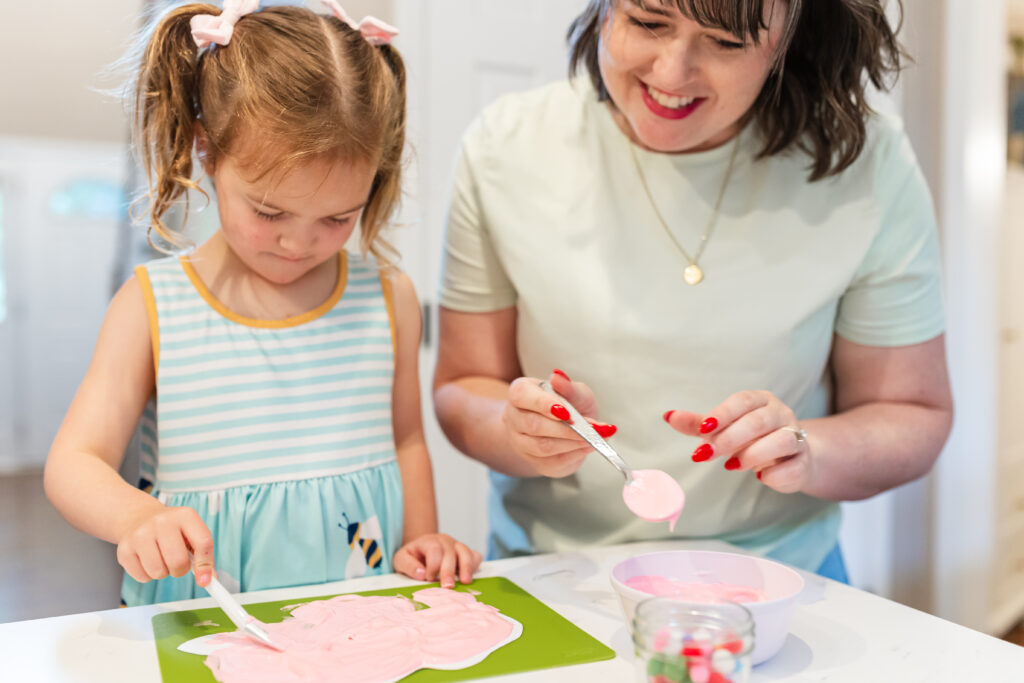
1. Mix Up the Magic: Firstly, grab a mixing bowl and blend equal parts white glue and fluffy shaving cream. Use your spoon or spatula to swirl them together until you’ve concocted a fluffy cloud in a bowl!
2. Splash on Some Color: Afterwards, divide your cloud-like mixture into smaller bowls, one for each hue of puffy paint you want to whip up. Add a dash of food coloring to each bowl and stir until your colors are as vibrant as a rainbow after a storm!
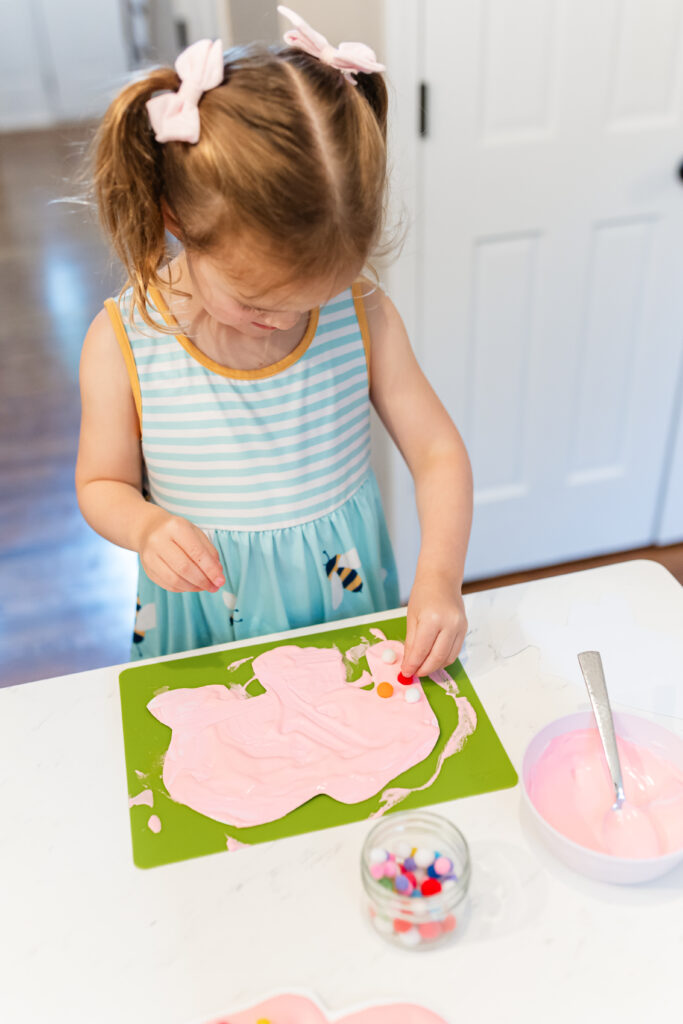
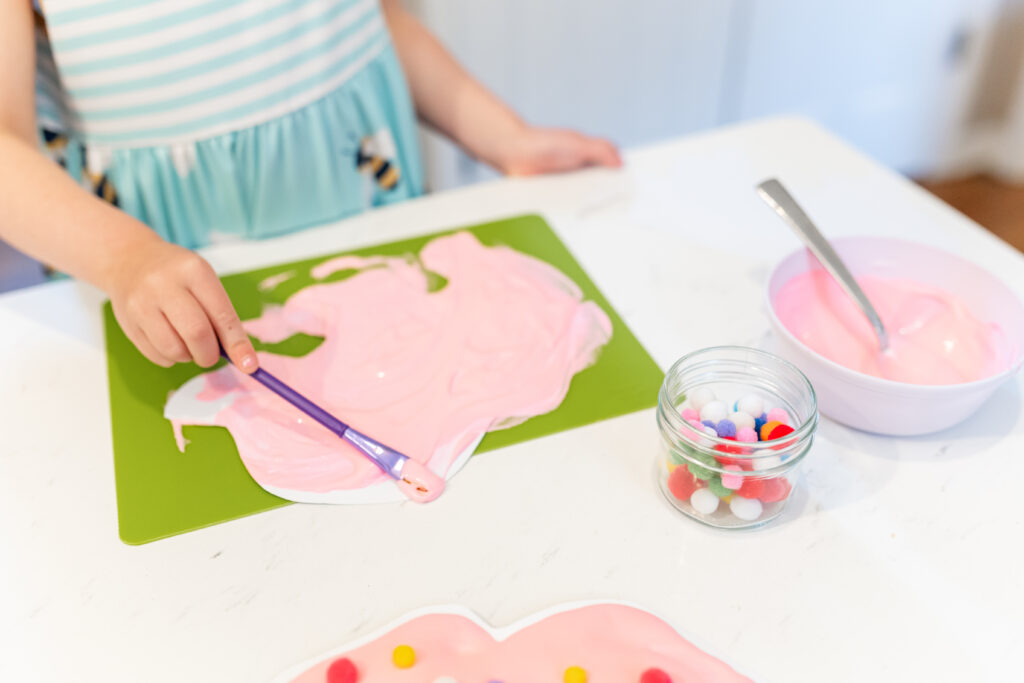
3. Paint the Town (or Paper!): And next comes the best part—let the painting fun begin! Grab your paintbrushes! Whether it’s bold lines, squiggly shapes, or abstract blobs, let your imagination run wild! Another tip you may want to try is scooping the paint onto the paper with a spoon and the spread it out!
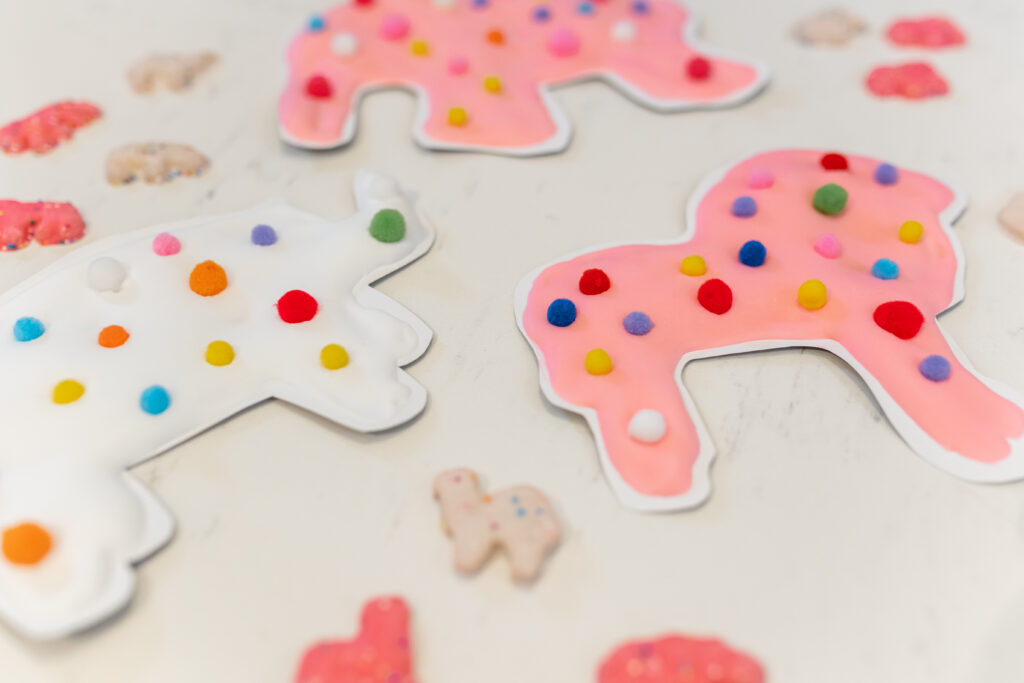
For this activity we made circus animal cookies with white and pink puffy paint, and we used pompoms for the sprinkles! You can also make ice cream cones, puffy paint hearts, or anything else your kids dream up!
4. Watch the Magic Unfold: Finally, as your artwork dries, get ready for the grand reveal! Also, watch in awe as your puffy paint masterpiece magically dries and stays puffed up, adding oodles of texture and dimension to your creations. It’s like watching a canvas come to life!
5. Show off Your Fluffy Creations: Once your artwork has dried, it’s time to put it on display! Not only can you deck out your walls and adorn your fridge, you can also surprise your loved ones with a one-of-a-kind masterpiece that’s as fluffy as it is fabulous!
Why Making Puffy Paint Rocks:
- Unleashes boundless creativity and self-expression
- Supports fine motor skills while mixing and painting
- Explores a world of textures and colors for sensory delight
- Boosts hand-eye coordination and concentration
- Sparks a sense of pride and accomplishment in creating something utterly unique!
Congratulations, adventurous artists! I hope you loved learning how to make puffy paint with this easy sensory craft recipe!
As I have said, just these few simple ingredients and you’ve made an amazing creation! So, encourage your kids to keep on painting, keep on dreaming, and let your creativity soar to new fluffy heights!